This shop has been compensated by Collective Bias, Inc. and its advertiser. All opinions are mine alone. #FRAMFresh #CollectiveBias
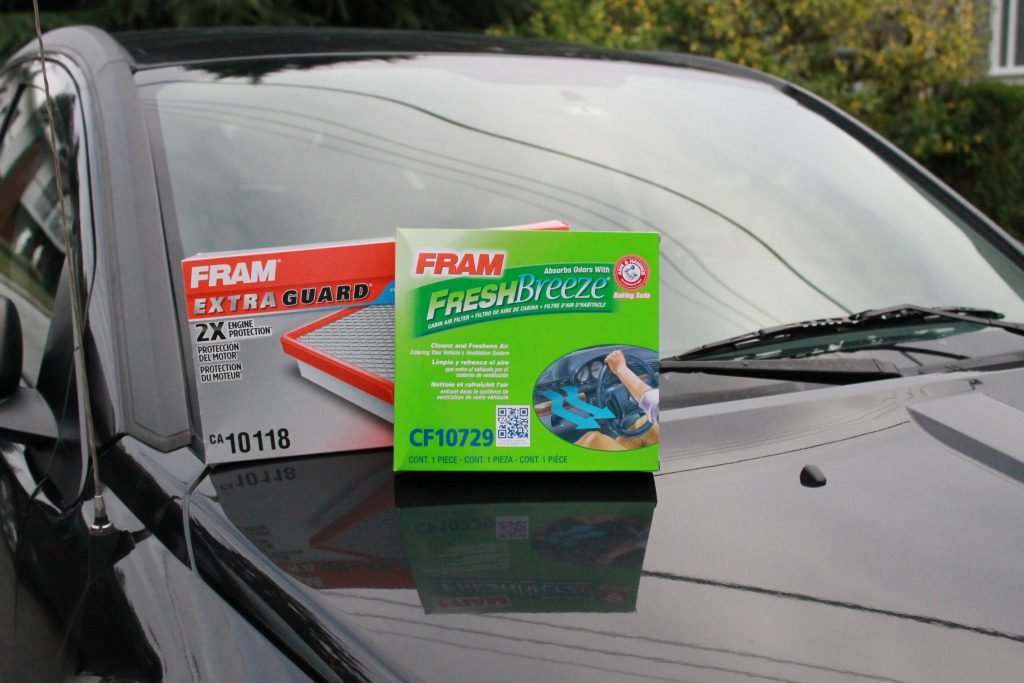
If you’re a West Coaster, you’ve probably noticed how quickly the seasons changed. We went from a beautiful hot summer to a dreary Vancouver-esque rainfall in a matter of days. Usually, when the first signs of Fall start to rear their heads it’s when I start looking into winterizing my car and taking care of some much-needed maintenance I neglected during the summer. Between my hubby and I, we commute over 3 hours each day and that is just to work and home. When you factor in A’s after-school activities, errands, and weekend trips, we put a lot of miles on our cars and we want to make sure they last.
Admittedly, I am not the BEST car owner. In fact, I am probably mediocre at best. It wasn’t until nearly 4 years after owning my car that someone even mentioned my engine air filter to me. It was at a routine check-up and apparently it was so bad they took pity on me and just changed it. However, it wasn’t until my hubby went to change his cabin air filter that he asked me when was the last time I had done mine. Uh… oops?
I know I’m not alone in this, there are dozens of different maintenance steps we should be taking to take care of our cars, but many of them are expensive and in this case – unknown! I had no idea that 80% of vehicles built since 2000 have a cabin air filter or a compartment where one can be installed. My hubby very kindly showed me where mine was located and sent me on my way to grab some filters.
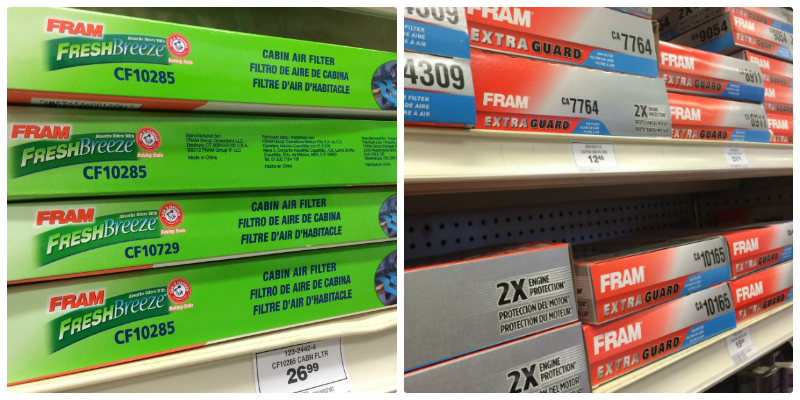
After a quick call to my local Canadian Tire to confirm they had the specific FRAM filters I was looking for I was able to head in and grab them, thankfully they have a very knowledgeable staff who were wonderful in helping me locate what I needed. At my specific location, I needed to ask at auto service for the filters as they are kept behind the counter. With a few quick details about my car they were able to find them both – all for under $50!
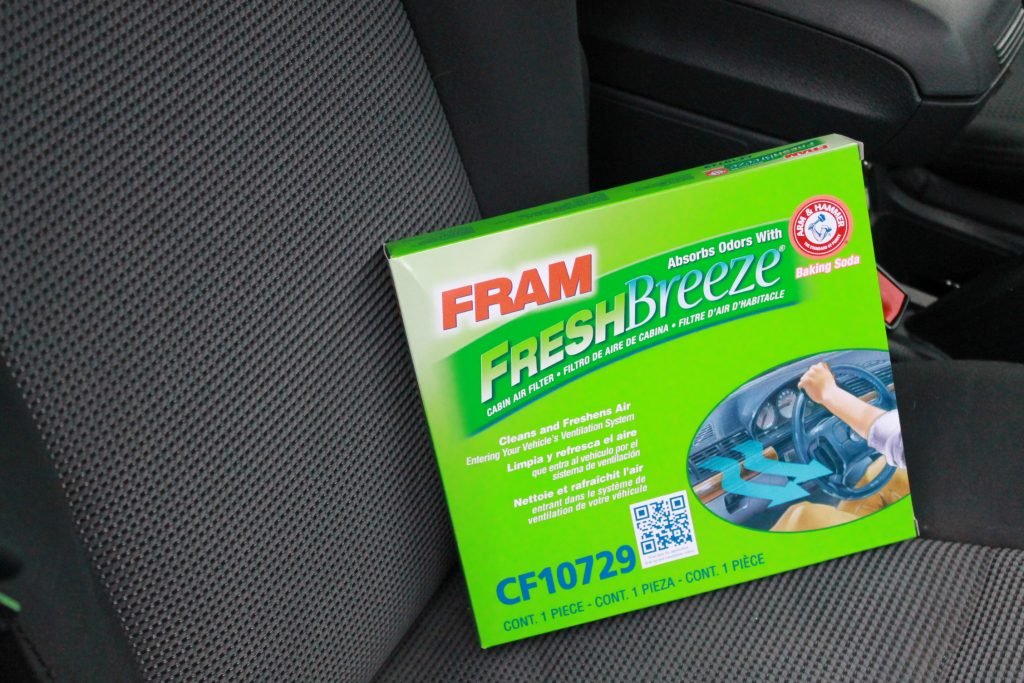
Once I had my filters in hand, it was time to get down to the nitty gritty. In my Dodge Caliber, my cabin air filter is located behind my glove box – at first I was convinced this was going to be a lip biting, hair pulling type experience of me trying to pry this thing off but I was actually very pleasantly surprised, with the help of the instructions on the FRAM Fresh Breeze filter packaging and the tutorials available on their website I was easily able to locate the compartment.

Step 1) To access the cabin air filter, squeeze the insides of the lower glove box in until the stoppers clear the outer frame, once they are clear the glove box should pop down and expose the housing. It was relatively easy but I suggest kneeling outside the car to get some leverage as my stoppers were a little stiff to get past the frame.
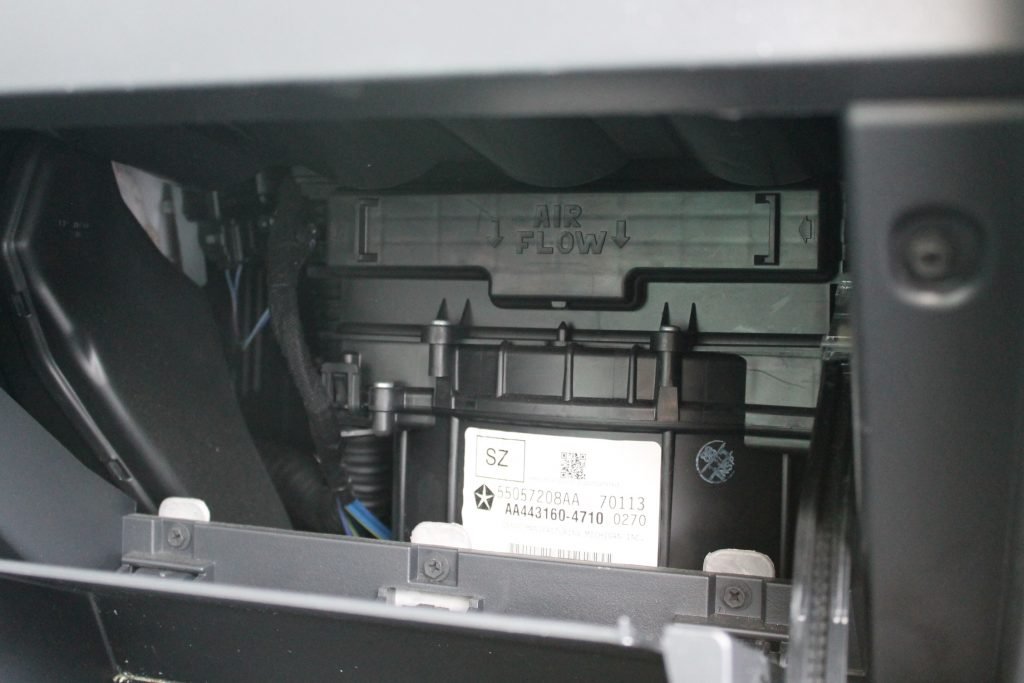
Step 2) See that little Air Flow box? That’s what we were looking for! To remove the cabin air filter cover just squeeze the outside casing by each arrow and it should pop right off.

Step 3) And there it is! Once your air filter is exposed you can gently slide it out of the compartment and give the inside a quick wipe down to remove any excess debris or dust. Definitely DO NOT tip your filter upside down as you are taking it out of the car, trust me on this one.
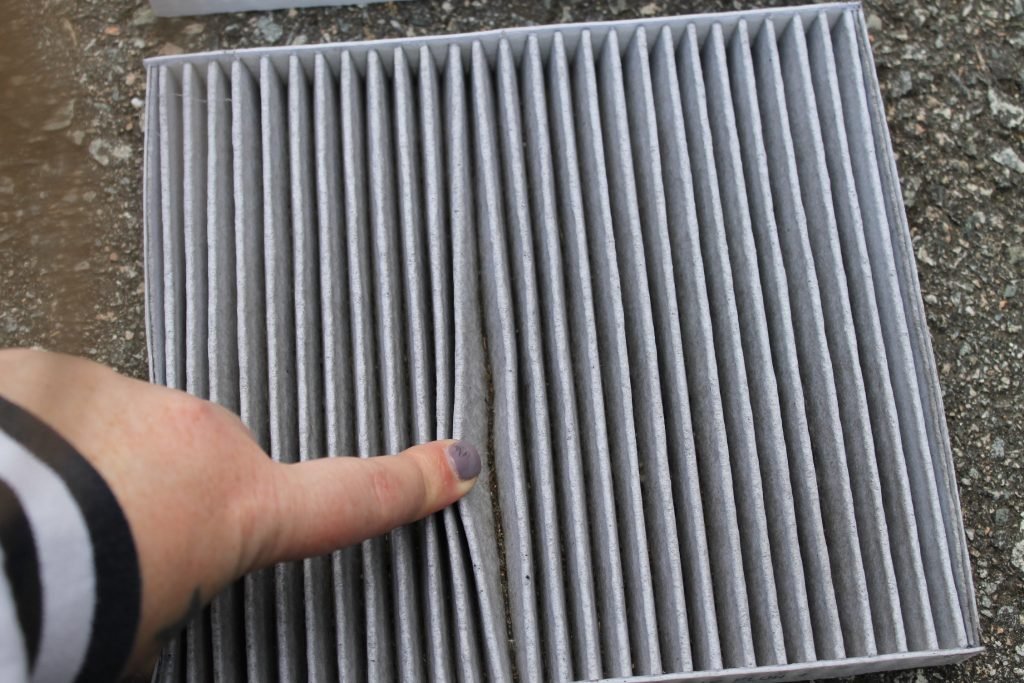
At this point, I was pretty grossed out. Having never actually seen my cabin air filter before I wasn’t quite sure what to expect but it certainly wasn’t this. Did you know that the air inside your car is actually 6x dirtier than the air outside? And look at that photo, this is what my cabin air filter was keeping OUT of my car. The FRAM Fresh Breeze cabin air filters can help remove up to 98% of dirt, dust and allergens from the air passing through your vehicle’s air conditioning and heating ventilation system before it even reaches you – hopefully making for a more enjoyable, less allergen laden drive for your passengers and yourself.
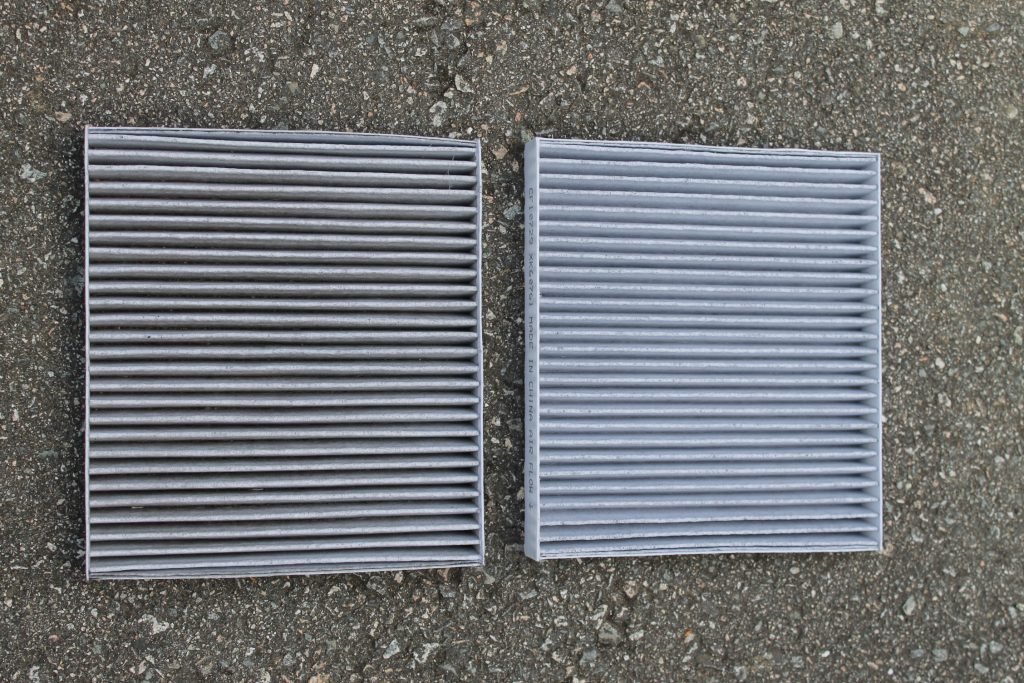
Step 4) Once you have the old one out, its time to put the new one in! What a difference in how clean the new one is. To install the new one, just slide the new filter back into the compartment, pop the housing back on and guide the glove box stoppers back into place.
All in all, changing my cabin air filter took me just under 10 minutes from start to finish and wasn’t nearly as frustrating as I thought it was going to be. By having done it myself, I estimate having saved myself at least $100!
FRAM recommends changing your cabin air filter annually or every 24,000km, though this would entirely depend on the environment you drive through and how much commuting you do daily, definitely make sure to follow the recommended change intervals noted in your vehicle’s owner’s manual just to be safe.
By making this small change a regular addition to your vehicle maintenance you can improve the effectiveness of your heating, defrosting, and air conditioning, with Winter creeping up on us I know I want to make sure that I am doing anything and everything to make sure my heating/defrost is going to work as best it can!
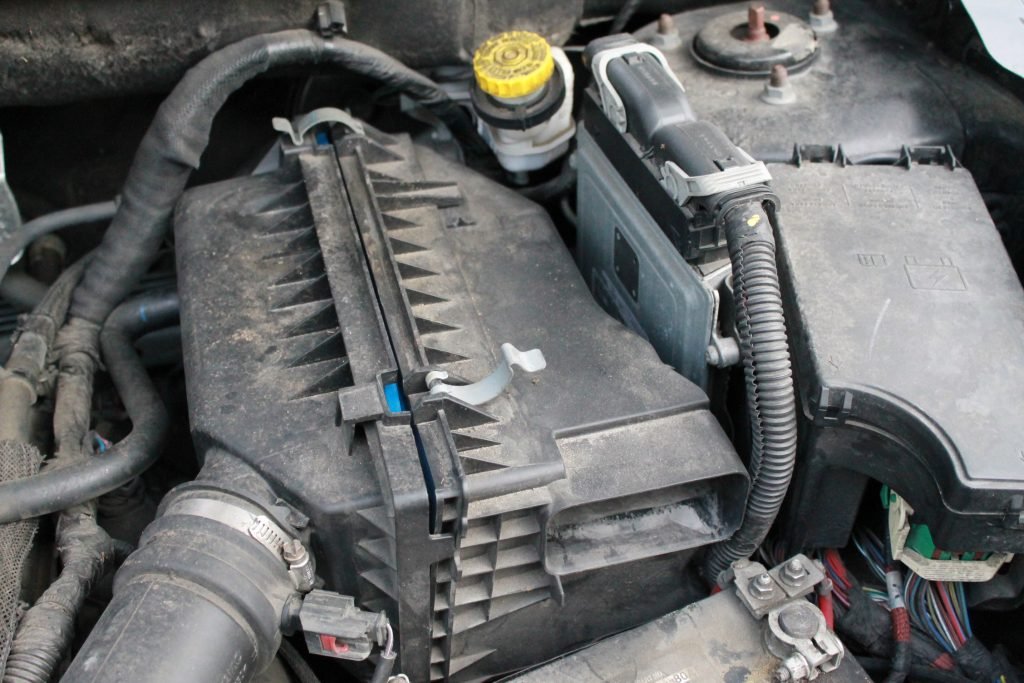
Since I had mastered this one so well, I figured I might as well also change my engine air filter – FRAM actually recommends changing them at the same time and it makes sense – they are both subjected to the same dirt, dust and allergens and chances are if you need to change one, you should probably change the other as well.

With a quick couple of pops on the engine air filter compartment, I was able to locate my old filter and replace it with a fresh new one. You may need some simple tools to remove your cover, but it shouldn’t take you longer than about 5 minutes.

Your engine air filter is just as important as your cabin air filter, a dirty filter can not only restrict air flow to your engine which can contribute to decreased acceleration, horsepower and just general sluggishness in your car. This tiny bit of maintenance that you can do on your own – in under 10 minutes – is your engine’s first line of defense and protects it from dirt, dust, and particles that can damage your engine. Combining the replacement of your cabin and engine air filters not only provides a more comfortable, clean ride but you can feel great knowing you, your passengers and your children aren’t breathing in all environmental allergens around you.
Looking for some more tips and tricks on how to change your cabin air filter and ways to incorporate it into your regular maintenance? Click here to check them out!
Do YOU change your cars cabin air filter, or does someone do it for you? Tell us in the comments!





Thanks for the great review and all the info,its good to know !!
I always leave the car maintenance to my husband but maybe I should try to check on my air filter…
I leave cars to hubs, but I do know for a fact that he doesn’t change/clean/replace filters. I’m going to show him this post!!
Neither of us are very car saavy. We used to go to a great mechanic who was like a “dad” and he replaced our filters regularly.
I didn’t even know my car had an air filter. I have never changed it so hopefully my husband has been taking care of it. I would hate to see what it looks like now if he hasn’t.
If it makes you feel better… I didn’t know it was there either! lol
I’m heading to visit my parents today, I need to tell them about this product!
available at Canadian Tire, pretty convenient for us as there is one 5 minutes away!
I love that it’s so easy to do and doesn’t take much time either. A great way to get your car ready for winter! #client
I participated in this Shoppertunity earlier in the fall and I couldn’t believe how easy it was to change the cabin air filter! I have definitely been converted to a diy-er!
I change these myself — it’s so easy to do!
The photos of the Fram air filter box reminds me of when I would buy them for my Chevy and change it myself. It was the only job I could do myself. Doesn’t matter which mechanic I’d go to, they’d all charge a lot for straight forward jobs like this one.
I didn’t know they were so easy to change because my husband has been doing it but I want to do it next time. Thanks for all the great information.
Thanks for the great review! I always change the filter myself super easy!
Didn’t really know you could do that! Would love to make a car smell nicer..
I change my own oil and air filter . I use Fram products too. They’re always a good price . Haven’t done the cabin air filter yet but I’ll definitely look for the fresh breeze , that’s awesome .
This is super cool because not only did I not even think about these filters but I didn’t realize how easy it would be to change the filters
Great tips and tricks , thanks for sharing , i will have to do this 🙂