
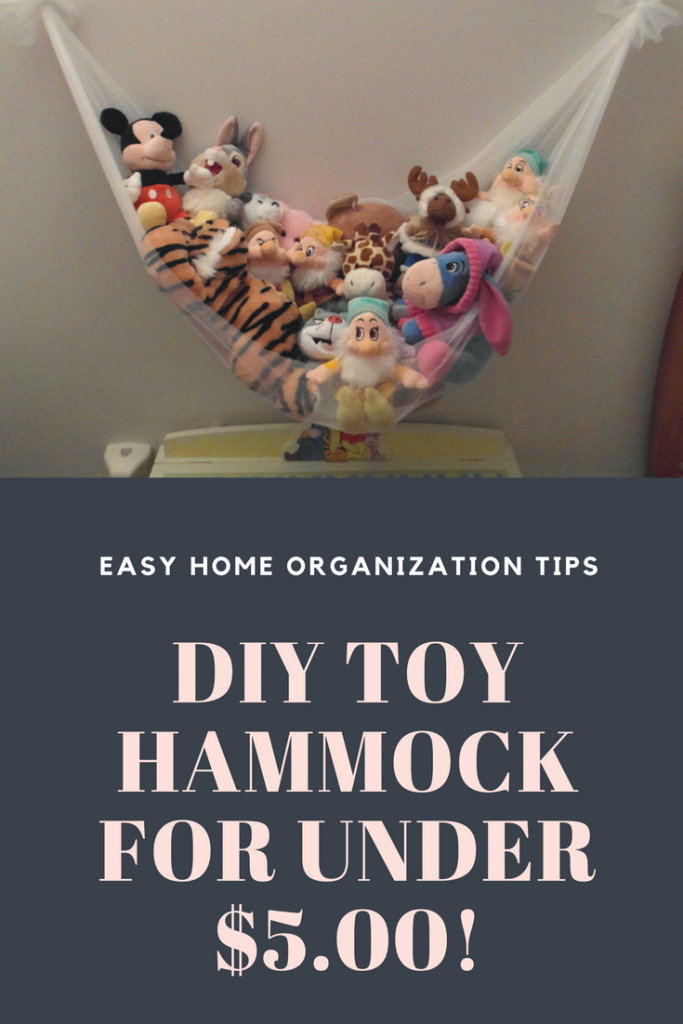
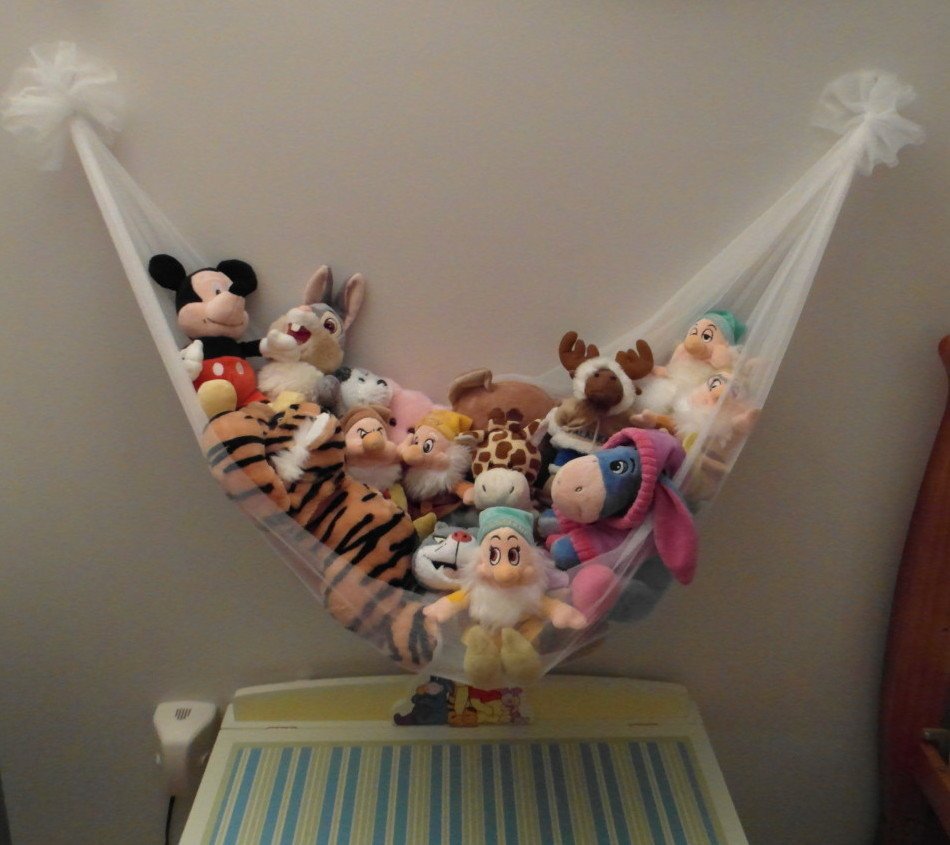
For a while I have been looking for a place to store all of Nicole’s stuffed animals. My husband even went out and bought one of the nets that you put up in the corner of the room. This was when we realized that: 1) we didn’t have a corner large enough in her room to put it 2) it was no where large enough to hold even a fraction of her stuffed animals and 3) it was a pain in the butt to install. What we really needed was a little hammock that we could put on a wall and not in a corner.
A while ago I was at Ikea with my friend Ashley and she found curtain panels in their clearance section for $2 each. These were perfect for the project I had in mind.
Then I came up with how I was going to make the toy hammock. The cost for me to make this hammock ended up being under $5. I also have enough “netting” to make 7 more.
How to make a toy hammock:
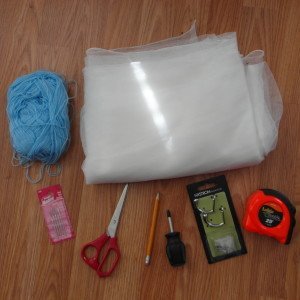
Supplies:
- Netting or any other fabric, depending on the fabric you may need to finish the edges on all 4 sides. Size will depend on how small or large you want your hammock to be. (Price varies: shop for odds and ends pieces, sales, clearance sections)
- Yarn or thread – yarn works really well with the netting, thread would be better for other fabrics.
- Yarn or thread needle (around $3 from your local craft store)
- Scissors
- Hooks – 2 pack with hardware (around $3.50 from your local hardware store)
- Pencil
- Tape measure
- Screwdriver
Directions:
- Cut netting to desired dimensions. I cut the curtain panel I purchased into 4. The final measurement was 68″ x 60″ .
- Fold shorter side of netting in half (inside of fabric facing each other).
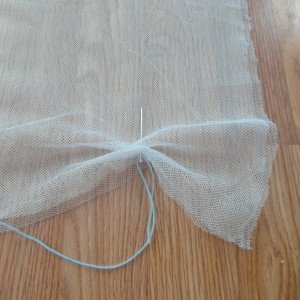
- Single thread your needle and start threading it through the netting about 3″ from the ends. Can be more or less depending on how big of a “fan” you want on the ends. The yarn through the netting prevents the netting from slipping through the yarn once the ends are finished.
- Continue threading yarn through entire length of folded netting keeping the netting on the needle. This allows you to keep the fabric bunched to make it easier to finish the ends.
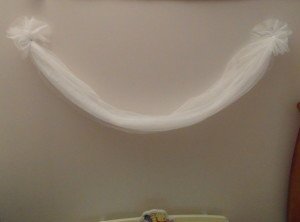
- Wrap the yarn completely around the fabric about 5 times. Make sure there is enough slack in the yarn to be able to fit the hook though and not too much slack to put all the weight on the inside stitch. Wrap the ends underneath the 5 layers a few times to give you a good spot to hang on the hook and tie off the ends of the yarn. This is what will hold the weight of everything in the hammock so make sure there are enough layers to hold the desired weight.
- Repeat the process for the other end of the hammock.
- Pick a place on the wall that will fit the hammock. Find a height that is easily accessible (depending on the purpose of the hammock) and provides a little hang of the hammock. If it’s too high, your child will not be able to play with their toys. If the hammock is too tight or loose, the toys will not site nicely in the hammock.
- Hold up the hammock against the wall and mark the placement of the hook loops on the wall with the pencil. This will be where you need to put your hooks.
- Measure the height of the pencil marks and make adjustments as needed so that the height is even.
- Affix the hooks to the wall. I chose to use hooks that screw into the wall as they can hold more weight than the sticky hooks.
- Hang up your hammock on the hooks.
- Fill with toys and you are done.
Personalization:
- Use different colours of yarn on the end.
- Add dangling pompoms to the ends. These are super easy to make as well.
- Embroider designs onto the netting using yarn (or embroidery thread depending on fabric).
- Use you child’s favorite colour or character fabric.
Alternative uses:
- pet toys
How do you store all of your kids stuffed toys?




What a great idea for gathering up those stuffed animals, they are put away but still visible
I need to make this happen in my house, as of now, our stuffed toys are in a big plastic bin.
What a awesome idea! Right now we currently have 4 baskets of stuffies all over the room nut we could totally do this instead!
what a great and brilliant idea.. my cats could love it lol
This is AWESOME! I had a toy hammock when I was a kid and I LOVED it. 🙂
What a fantastic idea. I intended to crochet one, not now, thank you for a great idea.
Thanks for this tutorial. We need one of these for each kid!
Thanks for this detailed tutorial,going to try this in the toddlers room.It looks great !
This worked so well in the kid’s room all the stuffies in one spot !
Such a great idea, much better then having them all piled up in a corner!!
We just redone ours on the weekend it was sagged so bad.
I like that you can still see the toys but they are stored away nicely.
This is such an easy to make contraption to keep all of the clutter off of the floor
This is such a great idea… and we have left over ‘tutu’ material!
Great storage idea! I like that you can still see the stuffed toys but they are put away in one area.